
TABLE OF CONTENTS
Experience the Future of Speech Recognition Today
Try Vatis now, no credit card required.
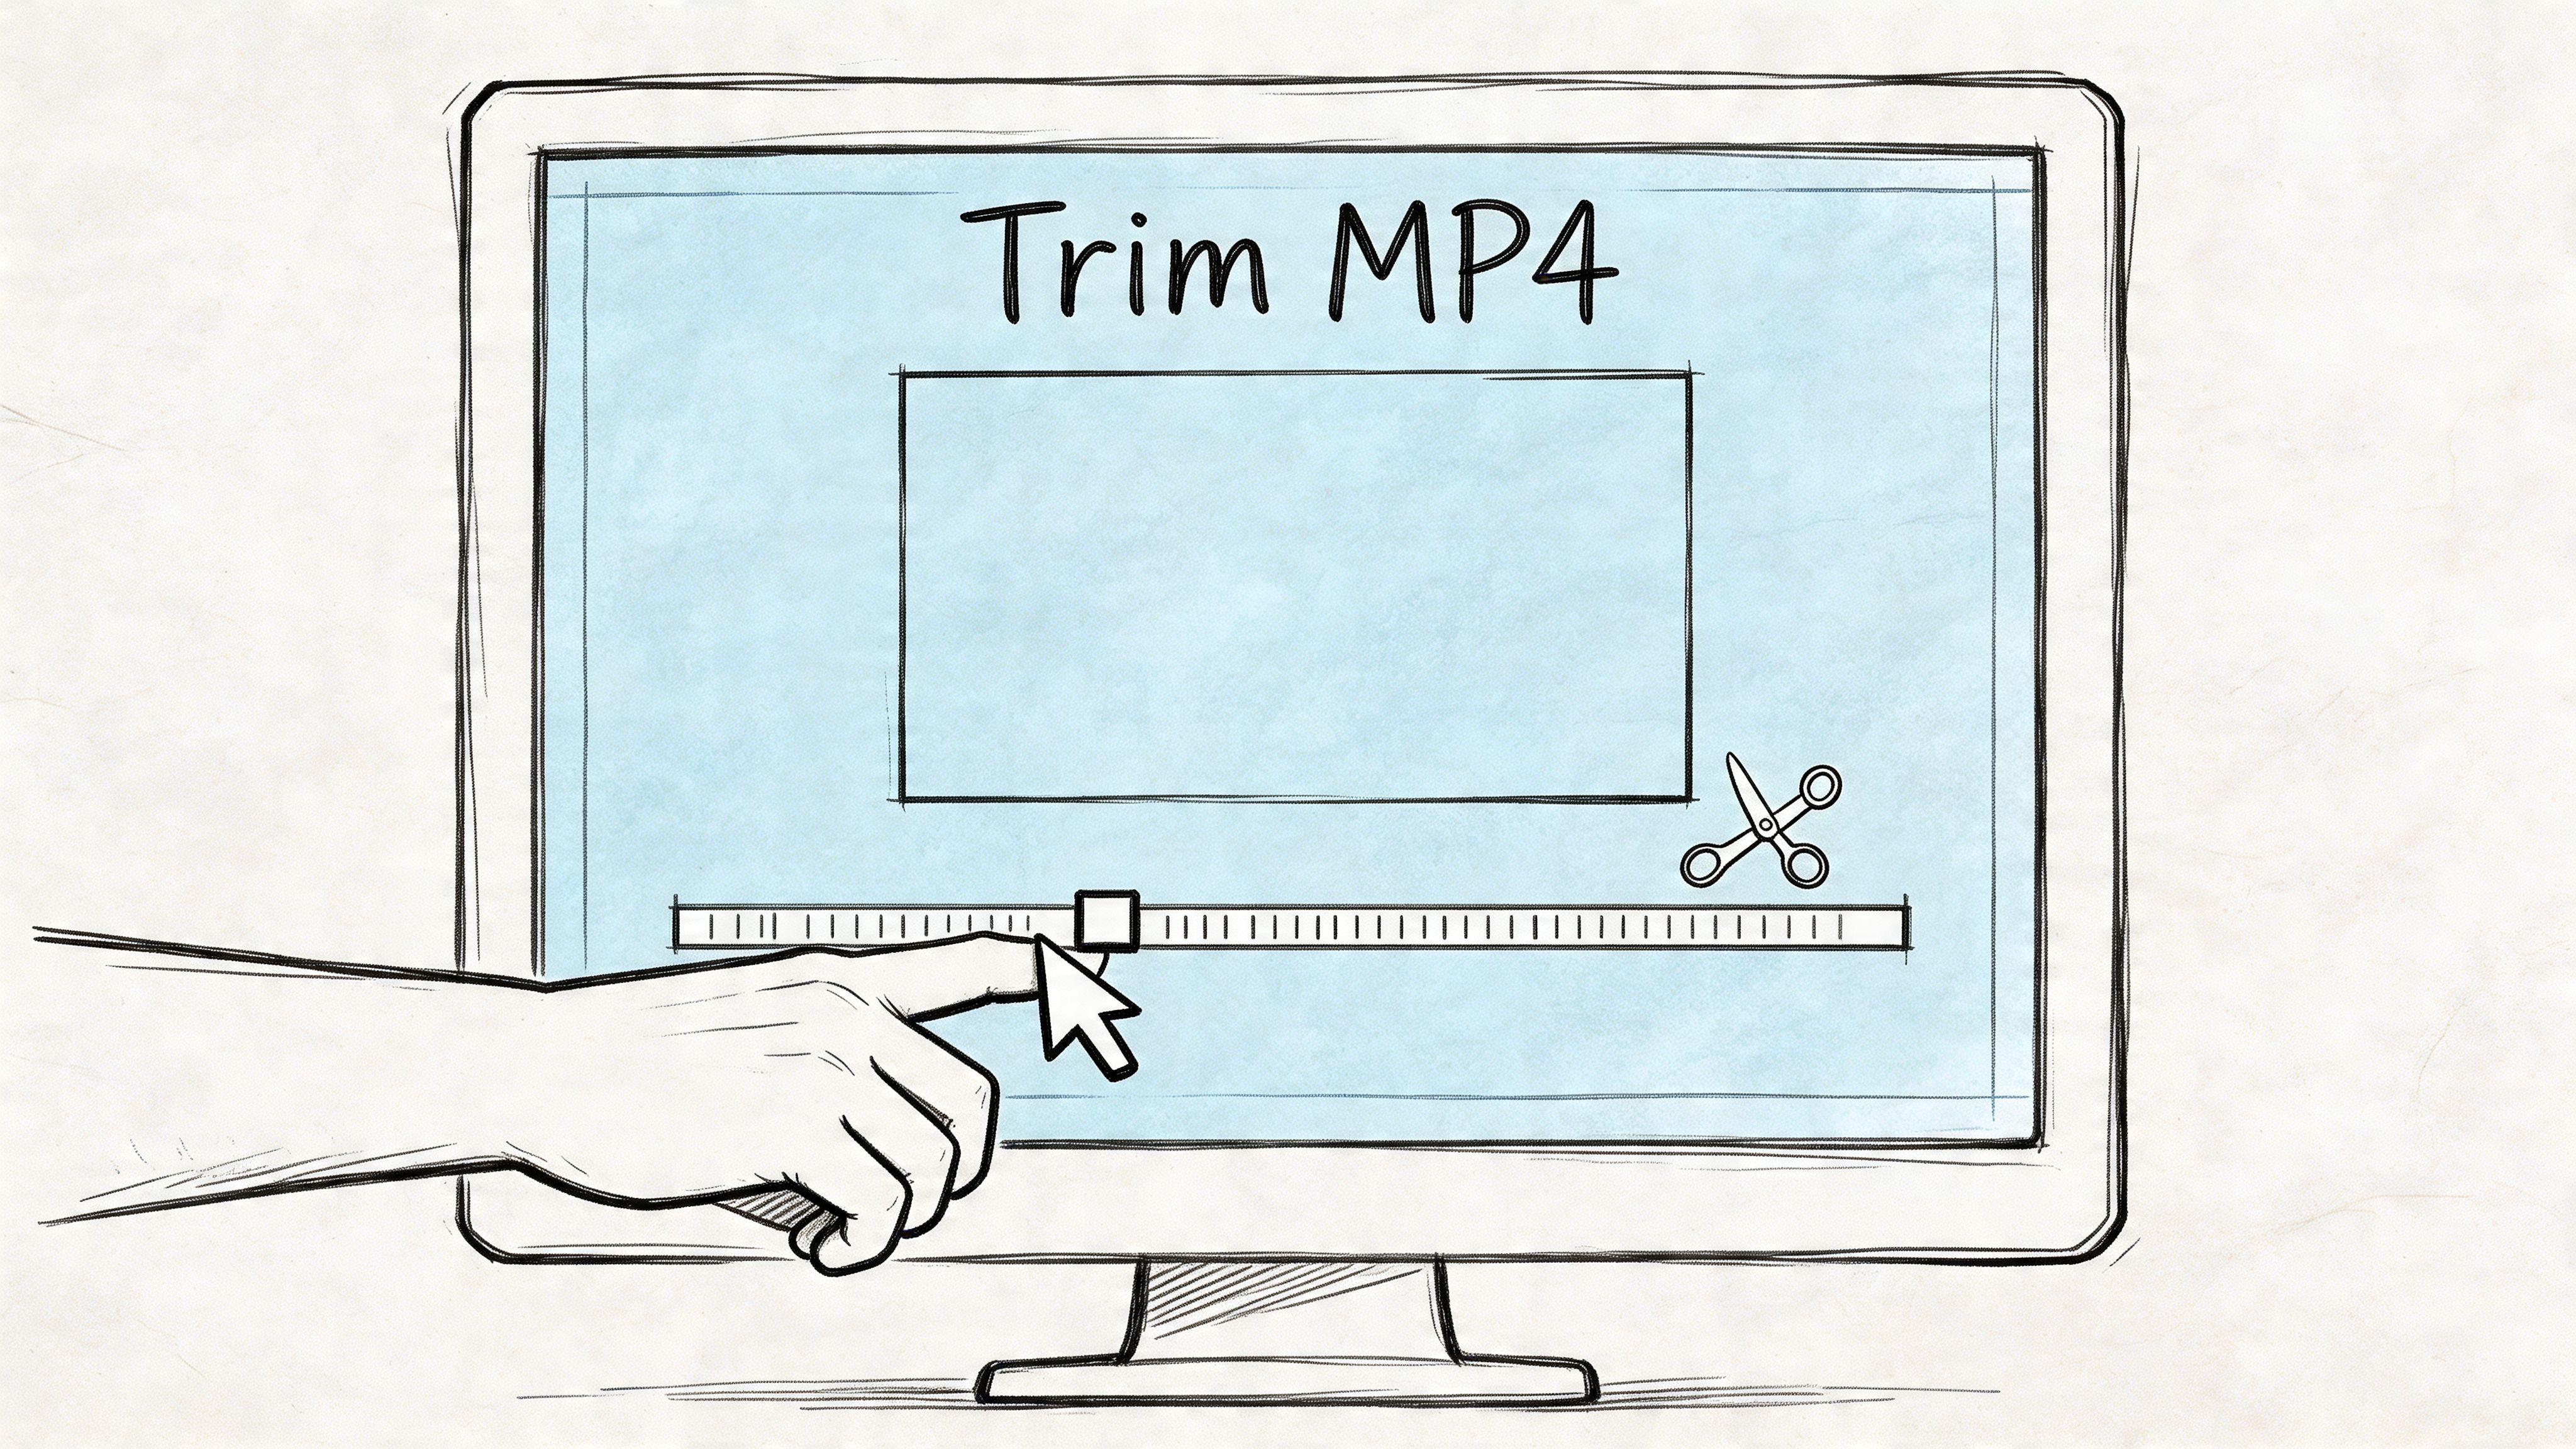
You’ve got a long recording, and you only need the part that matters.
Maybe it’s a Zoom call where the actual decision happened in a two-minute stretch. Maybe it’s a customer support screen recording with one reproducible bug. Maybe it’s interview footage, deposition video, a webinar, or a newsroom clip that needs to be cut down before anyone reviews, shares, or transcribes it.
That’s why learning how to trim an MP4 video is more useful than generally perceived. A clean trim removes dead air, cuts file size, speeds up review, and keeps everyone focused on the segment that matters. The trick is choosing the right method. A quick drag-and-drop trim is fine for social media or internal sharing. It’s the wrong tool when you need frame accuracy, lossless output, or a secure workflow.
Why Trimming MP4 Videos is an Essential Skill
MP4 became the default working format for a reason. The format was standardized in 2001, and its compression made editing much more practical by allowing up to 85% file size reduction compared with uncompressed formats while still supporting precise, non-destructive cuts. In the right workflow, trimming without re-encoding can reduce processing time by up to 90% compared with older editors, according to Icecream Apps’ MP4 trimming overview.
That matters in everyday work, not just in editing suites.
A project manager trims a meeting recording before sending it to stakeholders. A contact center lead isolates one customer interaction for QA review. A journalist pulls a clean quote from a much longer interview. A legal team extracts the exact portion of testimony they need to review. In each case, trimming is the step that turns raw footage into something usable.
Trimming changes the job from storage to signal
The biggest mistake I see is treating trimming like a cosmetic edit. It isn’t. It’s a filtering step.
When you cut a long file down to the useful segment, you make the next step easier:
- Review gets faster: Fewer irrelevant minutes to scrub through.
- Sharing gets simpler: Smaller files move more easily between teammates and systems.
- Transcription gets cleaner: You’re focusing on the part with the actual speech you need.
- Archiving gets saner: Teams can keep both the original and the extracted clip for different purposes.
Practical rule: Trim as early as possible if you already know the segment you need. Every later step becomes lighter.
The right trimming method depends on the outcome
Not every trim is the same. A social clip for internal Slack sharing doesn’t need the same care as footage headed into compliance review.
A useful way to think about it is this:
| Need | Best approach | What matters most |
|---|---|---|
| Quick personal or office trim | Built-in desktop app | Speed and simplicity |
| Browser-based edit from any device | Online editor | Convenience |
| Professional clip extraction | Lossless desktop tool or FFmpeg | Quality retention |
| Evidence, broadcast, or transcription prep | Frame-accurate trimming | Precision and repeatability |
If you only need to shorten a recording before sending it to a colleague, built-in tools are usually enough. If you need exact in and out points, or you can’t afford a quality hit, basic slider tools stop being enough very quickly.
Fast Trimming on Any Desktop with Free GUI Apps
Often, the fastest answer to how to trim an MP4 video is the simplest one. Open the file in a built-in app, drag the handles, save the clip, and move on.
On Windows, that usually means the Photos app. Since Windows 10 launched in 2015, the Photos app has processed over 1 billion MP4 clips annually, and it’s used by 65% of US contact center teams to preprocess footage for transcription, according to the Windows trimming workflow data referenced in this YouTube tutorial source.
That popularity makes sense. For short, routine jobs, built-in apps are often good enough.
How to trim an MP4 on Windows with Photos
If you’re using Windows and just need a clean start and end point:
- Open the MP4 in Photos
- Click Edit & Create or the trim option, depending on your version
- Drag the left handle to set the beginning
- Drag the right handle to set the end
- Preview the result
- Save as a new file
If your version includes Advanced Controls, you can also use the red record button for segment extraction. That’s useful when you want a clip from the middle rather than just shortening the front or back.
For things like:
- bug report recordings
- internal training snippets
- support call reviews
- family videos before sharing
this method is fast and low-friction.
How to trim an MP4 on macOS with QuickTime Player
QuickTime Player is just as straightforward.
Open the MP4, choose Edit > Trim, then drag the yellow handles to define the section you want to keep. Click Trim, save the file, and you’re done.
QuickTime is good when you want:
- a fast clean-up before sending a file
- no extra software
- a familiar interface that won’t slow you down
What it isn’t good at is surgical work. If you need frame-accurate boundaries, repeated batch jobs, or codec-specific control, you’ll hit the ceiling quickly.
Linux users need one simple utility
Linux doesn’t ship with one standard built-in trimmer the way Windows and macOS do, so many people use a lightweight GUI app such as VidCutter or a lossless tool like LosslessCut.
The important thing isn’t the exact app. It’s whether the tool lets you do one of two things:
- Quick visual trims for convenience
- Lossless cuts when you need to preserve quality
That distinction matters more than branding.
Here’s a useful visual walkthrough before you start editing:
Where free GUI apps work well, and where they don’t
Built-in editors are best when the clip is short, the stakes are low, and speed matters more than technical precision.
They’re less reliable when you need:
| Situation | Built-in GUI apps |
|---|---|
| Trim a screen recording fast | Good |
| Shorten a talk for sharing | Good |
| Make frame-accurate cuts | Limited |
| Avoid re-encoding in every case | Not guaranteed |
| Repeat the same trim across many files | Poor |
If you’re trimming once and sending the result today, use the GUI. If you’re building a repeatable workflow, start looking at lossless tools.
Using Online Video Editors and Their Trade-offs
Online trimmers are appealing because they remove setup. No install. No local app learning curve. Open a browser, upload the file, drag the sliders, export.
That’s why tools like Adobe Express or Clideo get used so often for quick jobs. They’re especially handy when you’re on a borrowed machine, a locked-down work laptop, or helping someone who doesn’t want to learn editing software.
Where browser trimmers shine
The convenience is real.

A browser editor works well when you need to:
- Trim from any device: Useful when you switch between machines.
- Avoid software installs: Helpful in locked corporate environments.
- Do a one-off edit: Fine for a simple social clip or rough internal share.
For everyday use, that’s enough.
The trade-offs show up fast in real work
The problem is that most online trimming guides stop at the slider. They don’t talk about what happens when quality, sync, or confidentiality matter.
As discussed in VideoHelp’s forum thread on trimming MP4 files without re-encoding, many tutorials focus on basic drag-and-drop workflows but miss the professional need for frame-accurate trimming without re-encoding. That gap matters for broadcasters, media monitoring teams, and anyone who can’t afford sync issues or soft exports.
Here are the trade-offs I’d weigh before uploading anything:
- Upload and download time: Large files make “quick” online editing feel slow.
- File limits: Some services cap duration or file size, which becomes a problem immediately with long recordings.
- Quality uncertainty: Many browser tools export a newly encoded file, even if you only made a small trim.
- Fewer controls: Exact timecode and frame handling are often limited.
- Privacy risk: Your video is leaving your machine and passing through someone else’s server.
Browser trimmers are for convenience, not control.
A practical decision rule
Use an online editor when the file is non-sensitive and the trim is simple.
Don’t use one when the file contains:
- customer calls
- patient interactions
- legal testimony
- internal product demos with confidential material
- journalism source footage
For those cases, local trimming is the safer habit. Even when the editor itself works fine, the upload step can be the wrong move.
Precision Trimming for Professionals Using FFmpeg
When people ask how to trim an MP4 video without quality loss, the ensuing conversation becomes serious.
FFmpeg isn’t the prettiest option, but it’s the most flexible one for professionals. It gives you exact control over timecodes, supports automation, and can trim by stream copying instead of re-encoding. That means you can often cut the clip while preserving the original video and audio data.
A useful benchmark comes from forensic tooling. In Amped Software’s walkthrough of non-destructive range selection, an editor extracts a 900-frame segment from a 30-minute, 1.5GB MP4 by marking frame 11,400 to frame 12,300, producing a file over 90% smaller without re-encoding or quality loss. That’s the standard professionals are trying to match.
The core idea is stream copy
Most quality loss happens during re-encoding. FFmpeg can often avoid that.
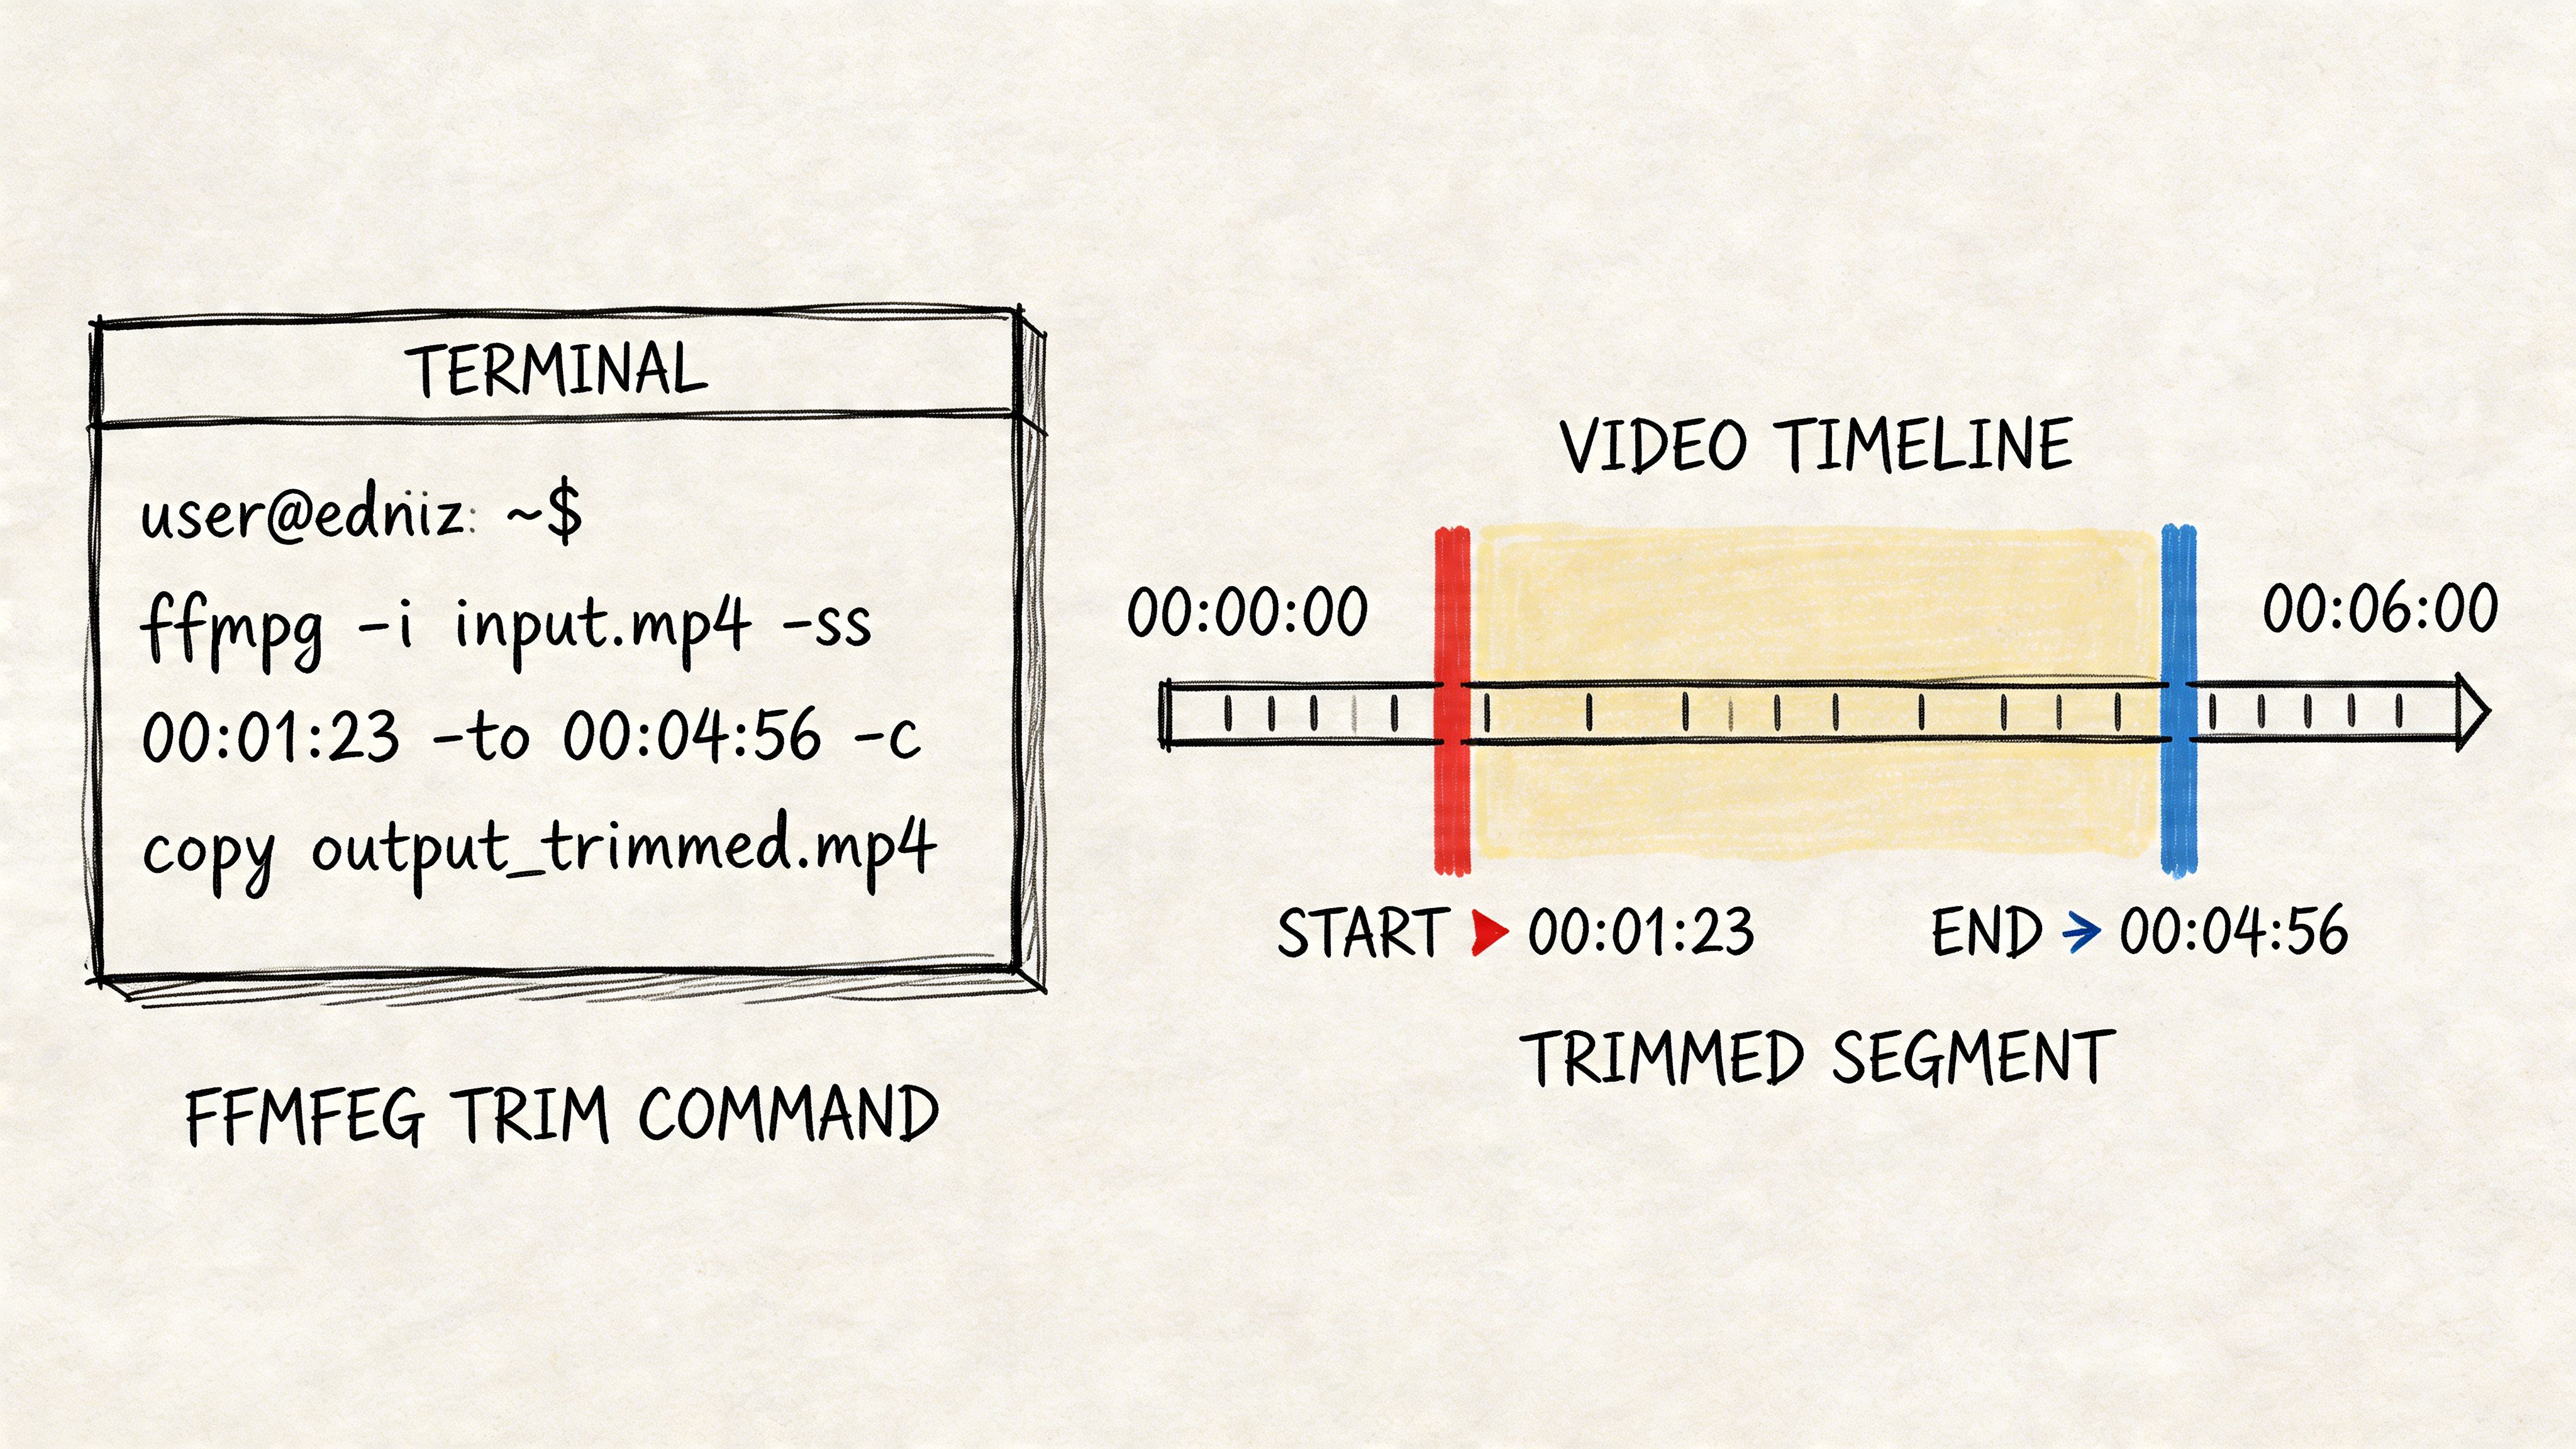
If you already know the section you want, use a command like this:
ffmpeg -ss 00:02:10 -to 00:03:05 -i input.mp4 -c copy output.mp4What this does:
-sssets the start time-tosets the end time-c copytells FFmpeg to copy the streams instead of re-encoding them
That’s the fastest method when you want a clean extraction and don’t need effects, transitions, or visual changes.
Use duration when that’s easier
Sometimes it’s easier to think in terms of clip length.
ffmpeg -ss 00:10:00 -i input.mp4 -t 00:00:30 -c copy output.mp4This starts at ten minutes and outputs thirty seconds.
That’s useful for:
- pulling a quote from an interview
- clipping a customer call segment
- extracting one incident from a long surveillance or webinar file
What stream copy does well, and what it doesn’t
Stream copy is excellent, but it has a limitation: MP4 files often cut most cleanly on keyframes.
That means:
- sometimes the trim lands perfectly
- sometimes the result starts or ends a little off the exact frame you wanted
- sometimes you need a second pass if the clip must be visually exact
If the boundary has to be exact, use a frame-aware GUI tool such as LosslessCut or a professional NLE, then verify the result. If you need only the audio for separate speech work, it helps to extract that cleanly first. This guide on how to extract the sound from a video is useful when your trimming workflow leads into audio-first processing.
Editing rule: Use FFmpeg for speed and repeatability. Use a timeline editor when one-frame errors matter.
Batch trimming multiple MP4 files
Under these conditions, FFmpeg becomes far more efficient than slider-based tools.
If you have a folder of files and need the same section from each one, a simple shell loop does the job:
for f in *.mp4; doffmpeg -ss 00:00:05 -t 00:00:20 -i "$f" -c copy "trimmed_$f"doneThat command trims each MP4 starting at five seconds and keeps twenty seconds.
A workflow like this is useful for:
- repeated exports from meeting recordings
- standardized clip prep for research review
- bulk media monitoring jobs
- creating samples from a large file set
When FFmpeg is the best choice
Use FFmpeg if you want:
| Need | FFmpeg fit |
|---|---|
| Repeatable trims | Excellent |
| Automation | Excellent |
| Lossless output | Excellent in many cases |
| Visual precision by timeline | Weak |
| Beginner-friendly interface | Weak |
If you’re comfortable with command lines, FFmpeg saves a lot of time. If you’re not, it’s still worth learning three or four commands because the efficiency gain is immediate once the workflow clicks.
Optimizing Trimmed Videos for AI Transcription with Vatis Tech
A trimmed MP4 is usually easier to transcribe than the full recording. That’s obvious. What’s less obvious is how much the workflow matters before upload.
The strongest setup is simple: trim locally, keep the relevant speech, then upload only the clip that needs analysis. This is especially important when the source video includes sensitive material.
Privacy is the part most trimming guides skip. According to this guide on trimming MP4 files for free, privacy in cloud-based trimming is an underserved topic, and for GDPR- or HIPAA-bound workflows, trimming locally before uploading to a compliant platform has seen a 35% rise in adoption. That logic is sound even outside regulated industries.
A practical pre-transcription workflow
If your goal is a usable transcript, caption file, or searchable record, this order works well:
Trim the file locally
Use QuickTime, Photos, LosslessCut, or FFmpeg instead of uploading the full raw file to a browser trimmer.Keep only the useful segment
Remove long intros, silence, unrelated discussion, and dead time before export.Preserve speech clarity
Don’t add aggressive effects, background music, or unnecessary recompression if the clip is speech-first.Upload the trimmed clip for transcription
If you’re converting spoken MP4 content into text, the MP4 to text workflow is the natural next step.
Why this works better in practice
A trimmed file creates better working conditions for both people and systems.
You get:
- less irrelevant content in the transcript
- faster review, because the output corresponds to the exact segment you care about
- cleaner collaboration, because teammates aren’t searching through unrelated material
- stronger privacy hygiene, because you’re not uploading extra footage that nobody needs
For editorial and operations teams, this also helps with post-processing. Once the transcript is generated, you may still want to smooth AI-written summaries, introductions, or public-facing copy. If that’s part of your publishing workflow, this guide to an AI humanizer tool is a worthwhile reference for refining machine-generated text into more natural language.
The main mistake to avoid
Don’t use a browser trimmer for confidential source footage just because it feels faster.
Local trim first. Upload second. That order protects more than just quality.
The more sensitive the content, the more important that habit becomes. Legal reviews, patient-facing recordings, internal interviews, and regulated customer interactions all benefit from keeping the first cut on your own machine.
Avoiding Common Mistakes and Mastering Export Settings
Most trimming problems come from three places: bad source footage, unnecessary re-encoding, and using the wrong tool for the job.
The most common technical issue is audio drift. It often shows up with phone footage, screen recordings, or app-recorded video because the file uses variable frame rate rather than a constant frame rate. The trim may look fine at first, then the audio starts slipping out of sync.
Fix variable frame rate before the final trim
If your MP4 behaves strangely after trimming, inspect the source and consider converting it to a more edit-friendly frame structure first.
A commonly used command is:
ffmpeg -i input.mp4 -r 30 -c copy output.mp4This command appears in discussions around VFR handling in professional trimming workflows. It’s the kind of fix worth trying when a file cuts poorly or loses sync after an otherwise simple edit.
Don’t re-encode unless you need to
A lot of users assume “export” always means “save a fresh compressed version.” It doesn’t have to.
If all you need is a shorter file:
- use stream copy in FFmpeg
- use a lossless cut tool when possible
- avoid sending the clip through a full editor just to make a simple in/out cut
If you need exact timed clips for later review, subtitles, or transcript matching, it also helps to keep timing consistent throughout the workflow. This guide on how to time stamp video is useful when the trimmed segment needs clear timing references after export.
Choose the tool based on the real job
Here’s the decision I’d make:
- Use Photos or QuickTime when the trim is simple and speed matters.
- Use an online trimmer only for non-sensitive files and low-stakes edits.
- Use FFmpeg or LosslessCut when quality retention matters.
- Use a timeline editor when you need exact visual decisions at edit points.
The wrong tool doesn’t just waste time. It creates a second repair job.
Best export settings for a trimmed MP4
If you do need to export rather than stream copy, these settings are a safe baseline for general use:
| Setting | Recommendation |
|---|---|
| Container | MP4 |
| Video codec | H.264 |
| Audio codec | AAC |
| Resolution | Match source unless you need a smaller file |
| Frame rate | Match source when possible |
| Bitrate strategy | Preserve source quality if speech clarity matters |
| Subtitles or captions | Export separately if needed for review |
For pure trimming, “match source” is often the right instinct. Every unnecessary conversion introduces one more chance for softness, sync drift, or file bloat.
Frequently Asked Questions About Trimming MP4s
Can you trim an MP4 without losing quality
Yes, often you can. The key is using a workflow that copies the existing video and audio streams instead of re-encoding them. FFmpeg, LosslessCut, and some professional tools can do this. Built-in editors may or may not, depending on the exact app and export path.
What’s the fastest way to trim a single MP4
For one file, the fastest method is usually a built-in app like Photos on Windows or QuickTime on macOS. Open, drag the handles, save, done. If you already know the exact timecodes, FFmpeg can be just as fast once you’re comfortable with it.
What’s the fastest way to trim many MP4 files
For repeated work, use FFmpeg. A batch command or shell loop is much faster than opening files one by one in a GUI. This matters when teams process many recordings with the same trim pattern.
Can I trim an MP4 on my phone
Yes. Both iPhone and Android offer basic built-in video editing features in their gallery or photos apps. They’re fine for quick start-and-end trims. They’re not ideal when you need frame accuracy, codec control, or a compliance-sensitive workflow.
Does trimming remove timestamps, subtitles, or metadata
Sometimes. It depends on the tool and export method. A simple re-export may drop embedded data or handle tracks differently. If the file contains subtitles, time references, or metadata you need later, test with a short clip first before processing your full source archive.
Should I keep the original file after trimming
Yes. Keep the original whenever the video has legal, editorial, research, or compliance value. Treat the trimmed MP4 as a working derivative, not the only copy.
If you trim video regularly and want accurate transcripts, captions, timestamps, and multilingual speech-to-text from your clips, Vatis Tech is worth a look. It’s built for teams working with audio and video at scale, from contact centers and newsrooms to healthcare, legal, and research workflows.